Setting Up a Robot with VDA5050#
Before proceeding, ensure the following prerequisites are met:
- You have an account with administrator permissions (or higher). (Account Setup)
- You are part of an organization.
- Your user is assigned to a team within the Meili FMS.
- A vehicle has been created within that team. For guidance, see Adding Vehicles
If any of these requirements are not fulfilled, please refer to Get started for further assistance.
Setting Up vehicle Topics#
- Log in to your account and click the Manage Organization button to access the administrator page. (If this button is not visible, you may lack the necessary permissions for the organization.)

Note It is important to have a unique Serial Number for each of the robot. If possible, use the serial number provided by the manufacturer. When a vehicle with the same serial number as an already existing vehicle is added it will be rejected by the system and a “vehicle serial number already used” notification will pop-up.
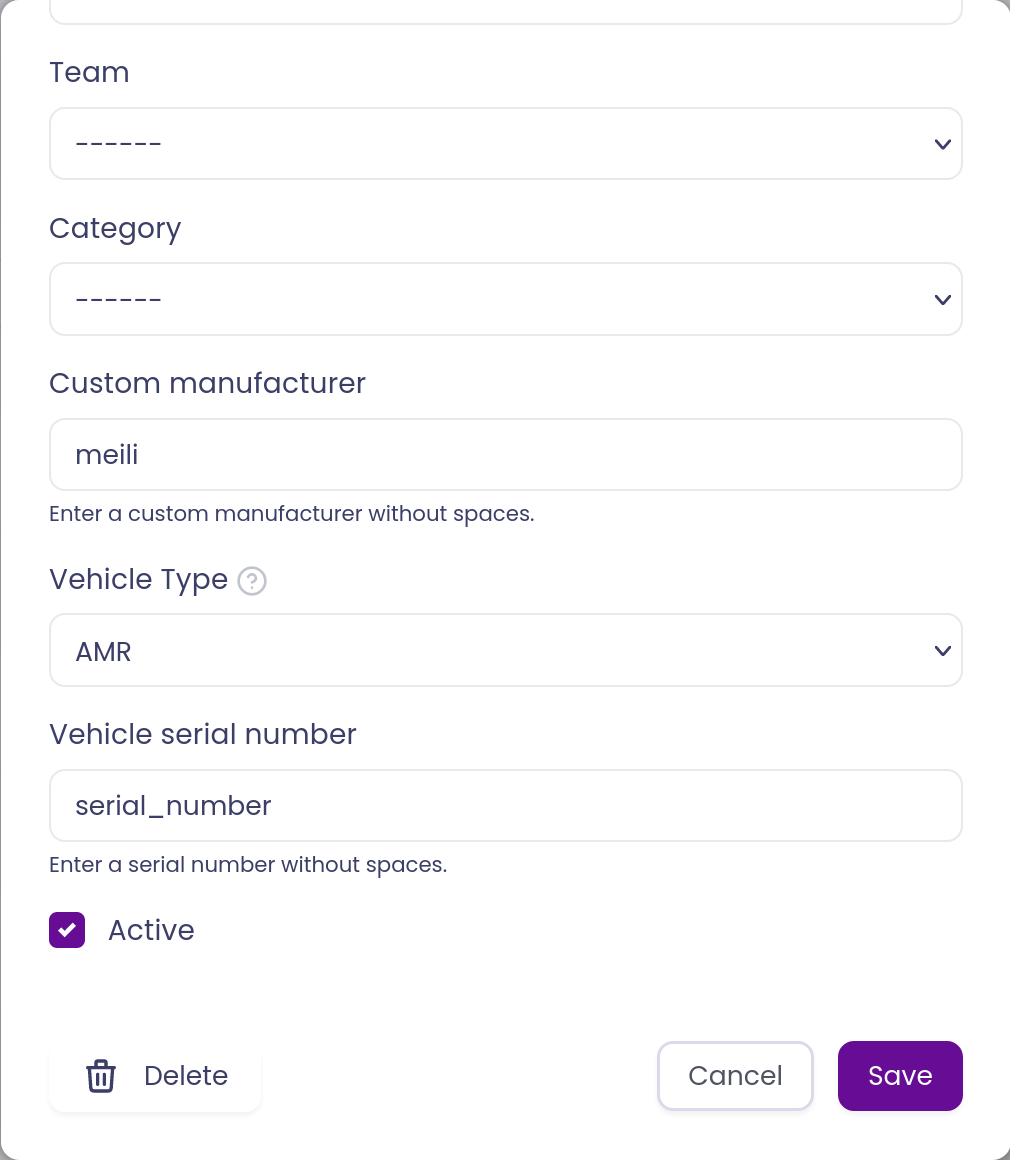
- Navigate to the Vehicles section within the administrator page. Locate your vehicle and click the edit icon on the right-hand side to edit it. Here, you can configure the custom manufacturer and serial number used in the VDA5050 MQTT topics.

Create MQTT credentials for a Robot#
-
Begin by completing Step 1 of the Setting Up Vehicle Topics section.
-
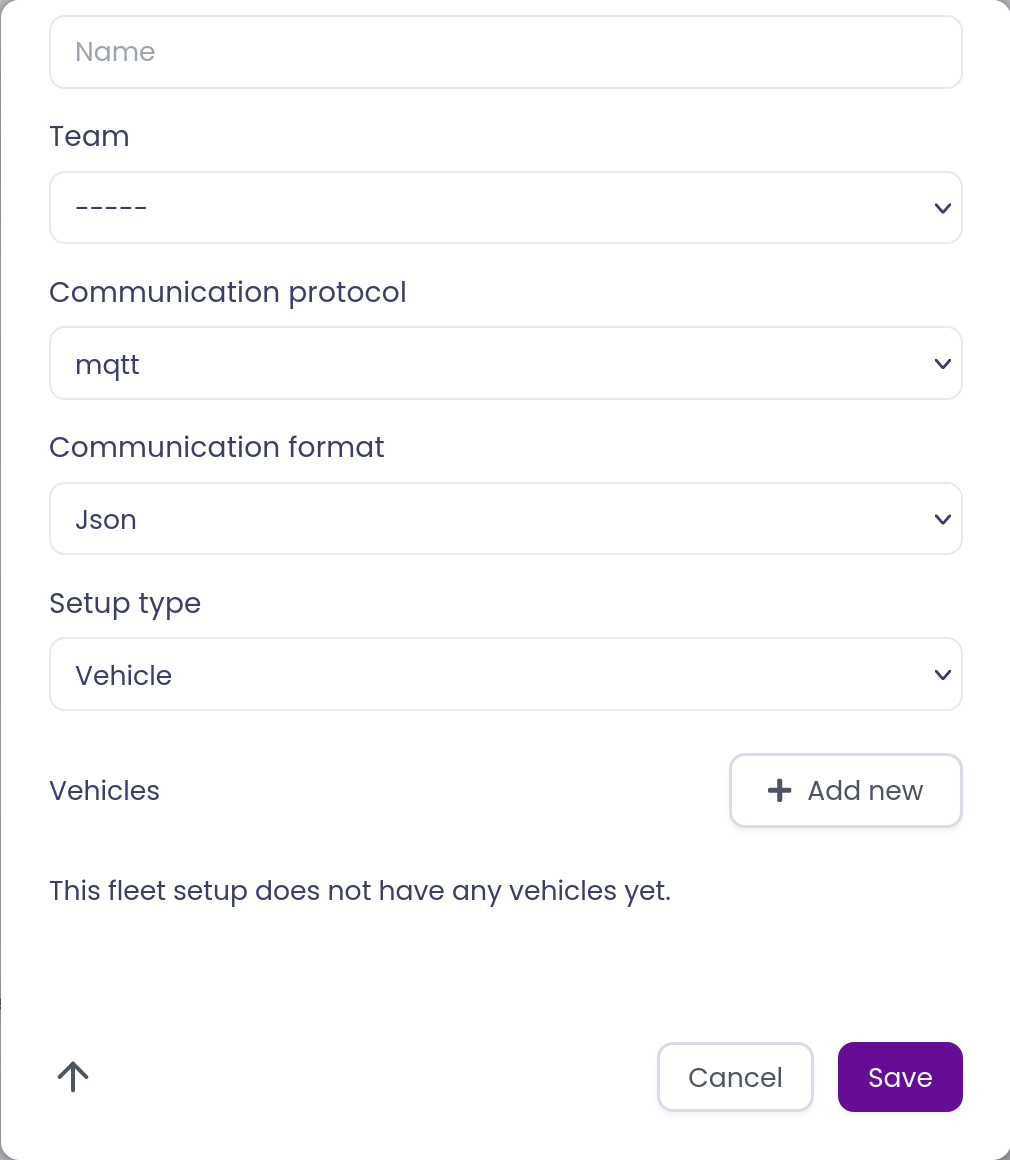
Navigate to the Fleet Setup page and click Add Setup. This opens a window where you can specify connection details for the vehicle. Since VDA5050 utilizes MQTT and JSON, you can use the example configuration provided in the image below. Be sure to associate a single vehicle with this setup.

-
Once all details are entered, click Save.
-
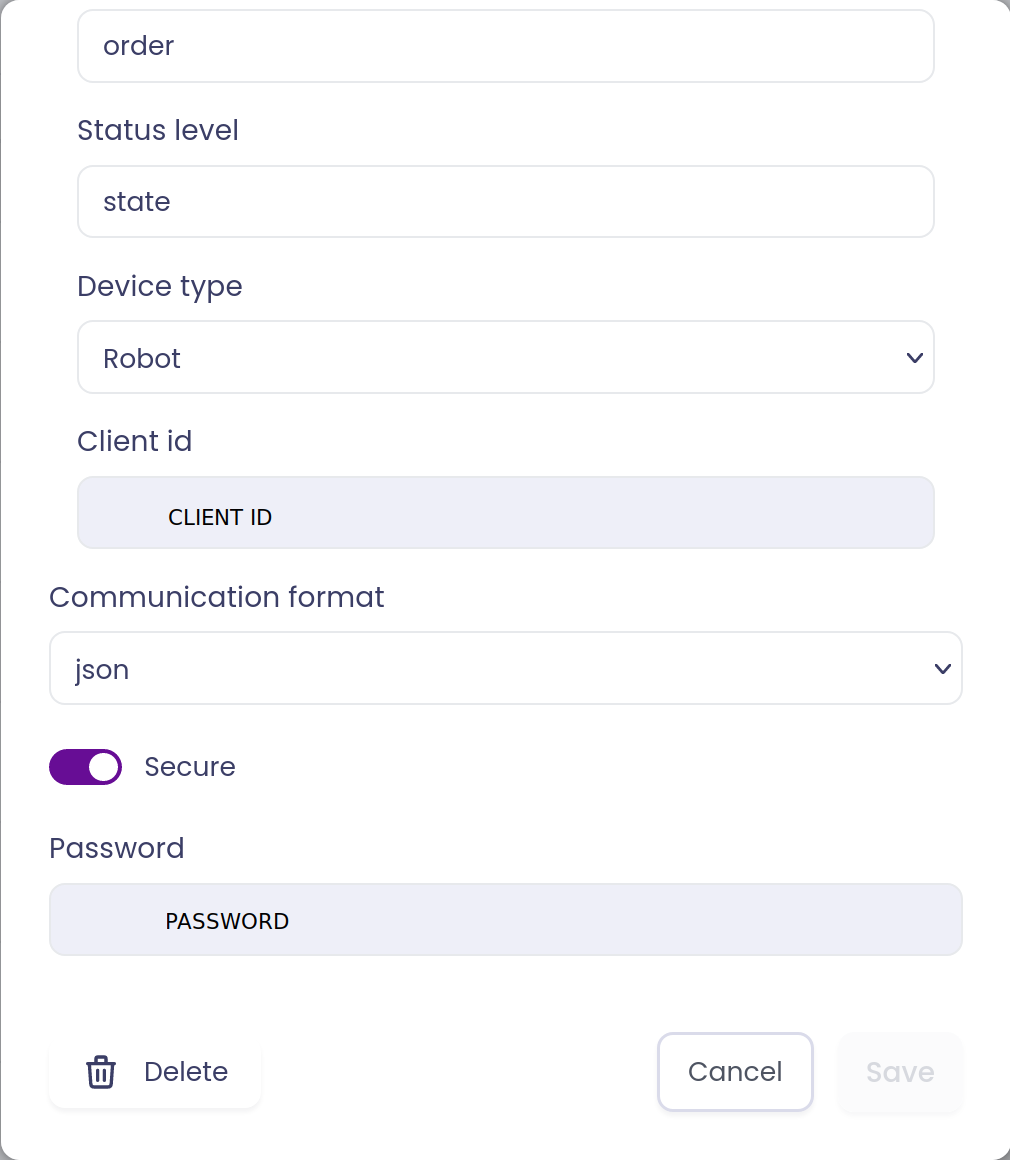
After saving, access the Edit Setup window by clicking the edit icon next to the setup. Go to the Channel tab, where you can find the MQTT topics and credentials. Scroll down within this tab to view the MQTT credentials, which are used to authenticate connections to the MQTT broker.
