Mission presets #
In this page you will be able to create and manage mission presets. Mission presets let the user create a set of preconfigured actions that can be sent to the robots.
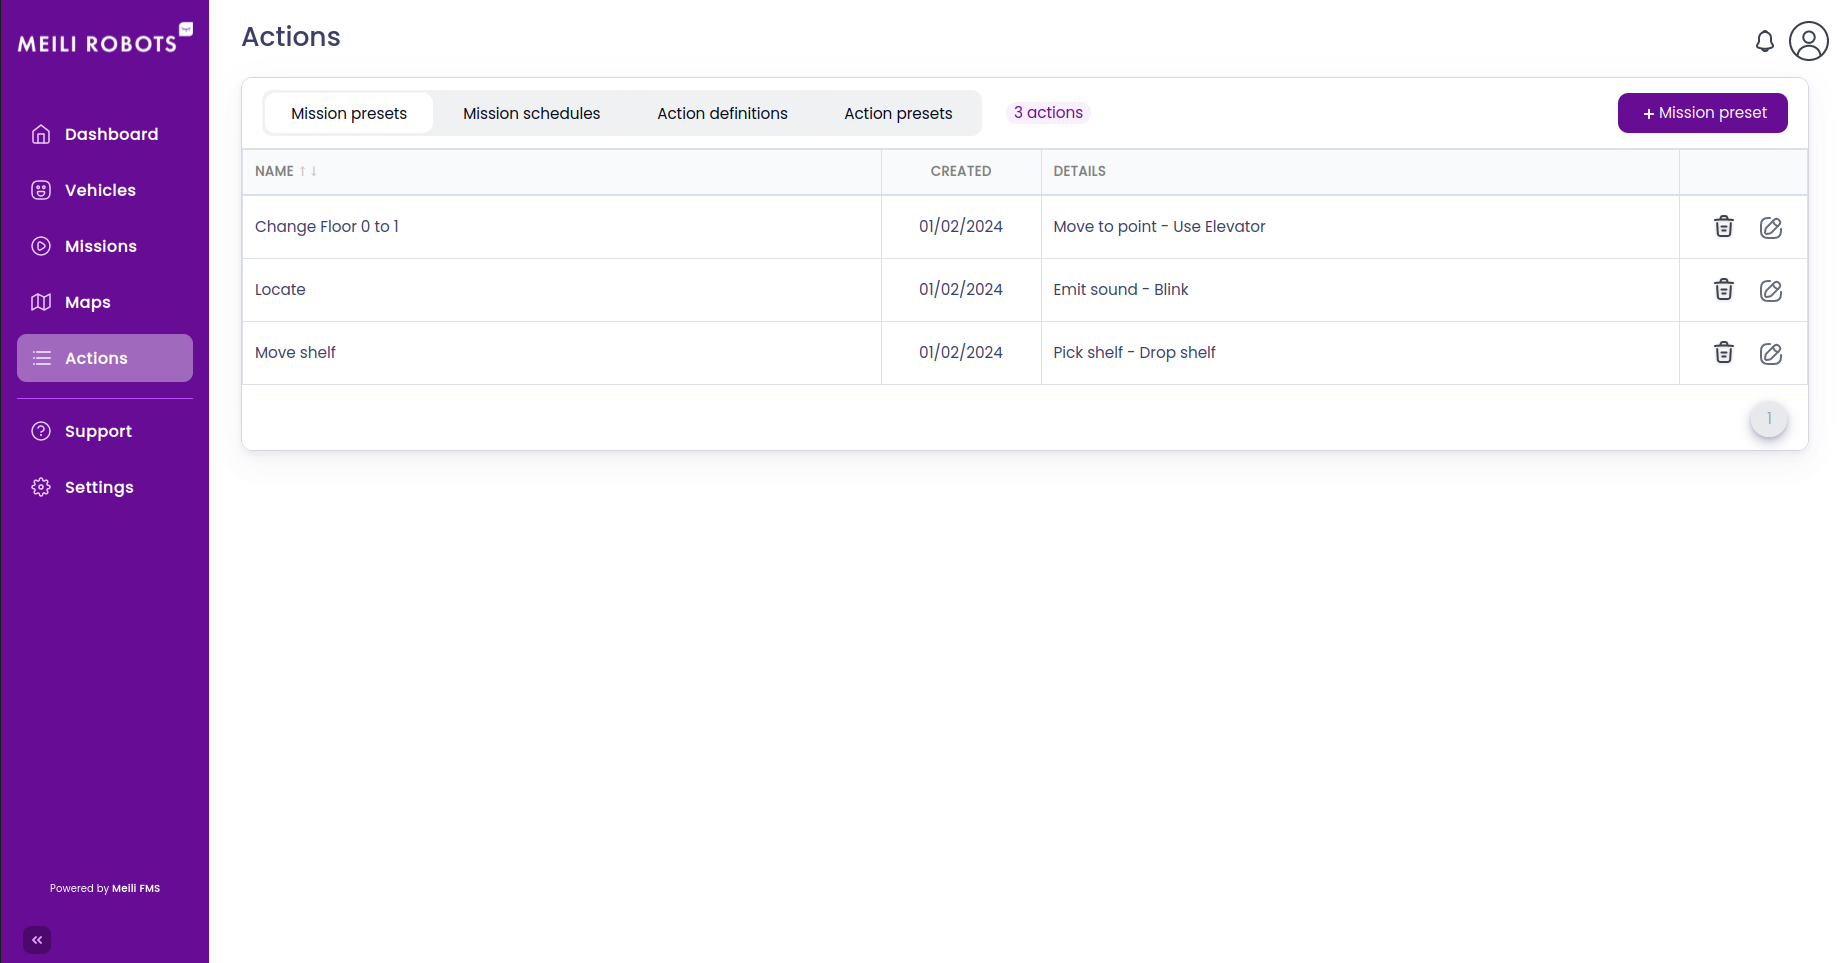
Create a mission preset #
To create a mission preset, click on the + Mission Presset button. A popup will appear.
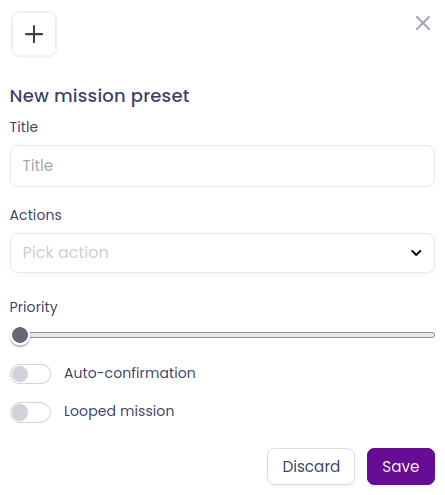
Fill the form with the following information:
- Title: the title of the mission preset
- Actions: pick an action from the dropdown list. Once clicked, that action will be added, and you will be able to configure it. You can add as many actions as you want. Actions will be executed in the order they are added. You can remove an action by clicking on the trash icon.
- Priority: the priority of the mission preset. The higher the priority, the sooner the mission will be executed. Slide the slider to change the priority.
- Auto-confirmation: if checked, the mission will be automatically confirmed when finished. If not, the mission will be pending until a user confirms its completion.
- Looped mission: if checked, the mission will be executed in a loop. If not, the mission will be executed only once.
Once you are done, click on the Save button to create the mission preset. The mission preset will be added to the list of mission presets.
Edit a mission preset #
To edit a mission preset, click on the Edit button of the mission preset you want to edit. A popup similar to the one used to create a mission preset will appear. Edit the mission preset as you wish, and click on the Save button to save your changes.
Delete a mission preset #
To delete a mission preset, click on the Delete button of the mission preset you want to delete. A popup will appear asking you to confirm the deletion. Click on the Delete button to confirm the deletion, or on the Cancel button to cancel the deletion.