Manage Organisation Vehicles#
Adding a New Vehicle#
This guide will walk you through adding a new vehicle to your fleet in the application.
Step 1:
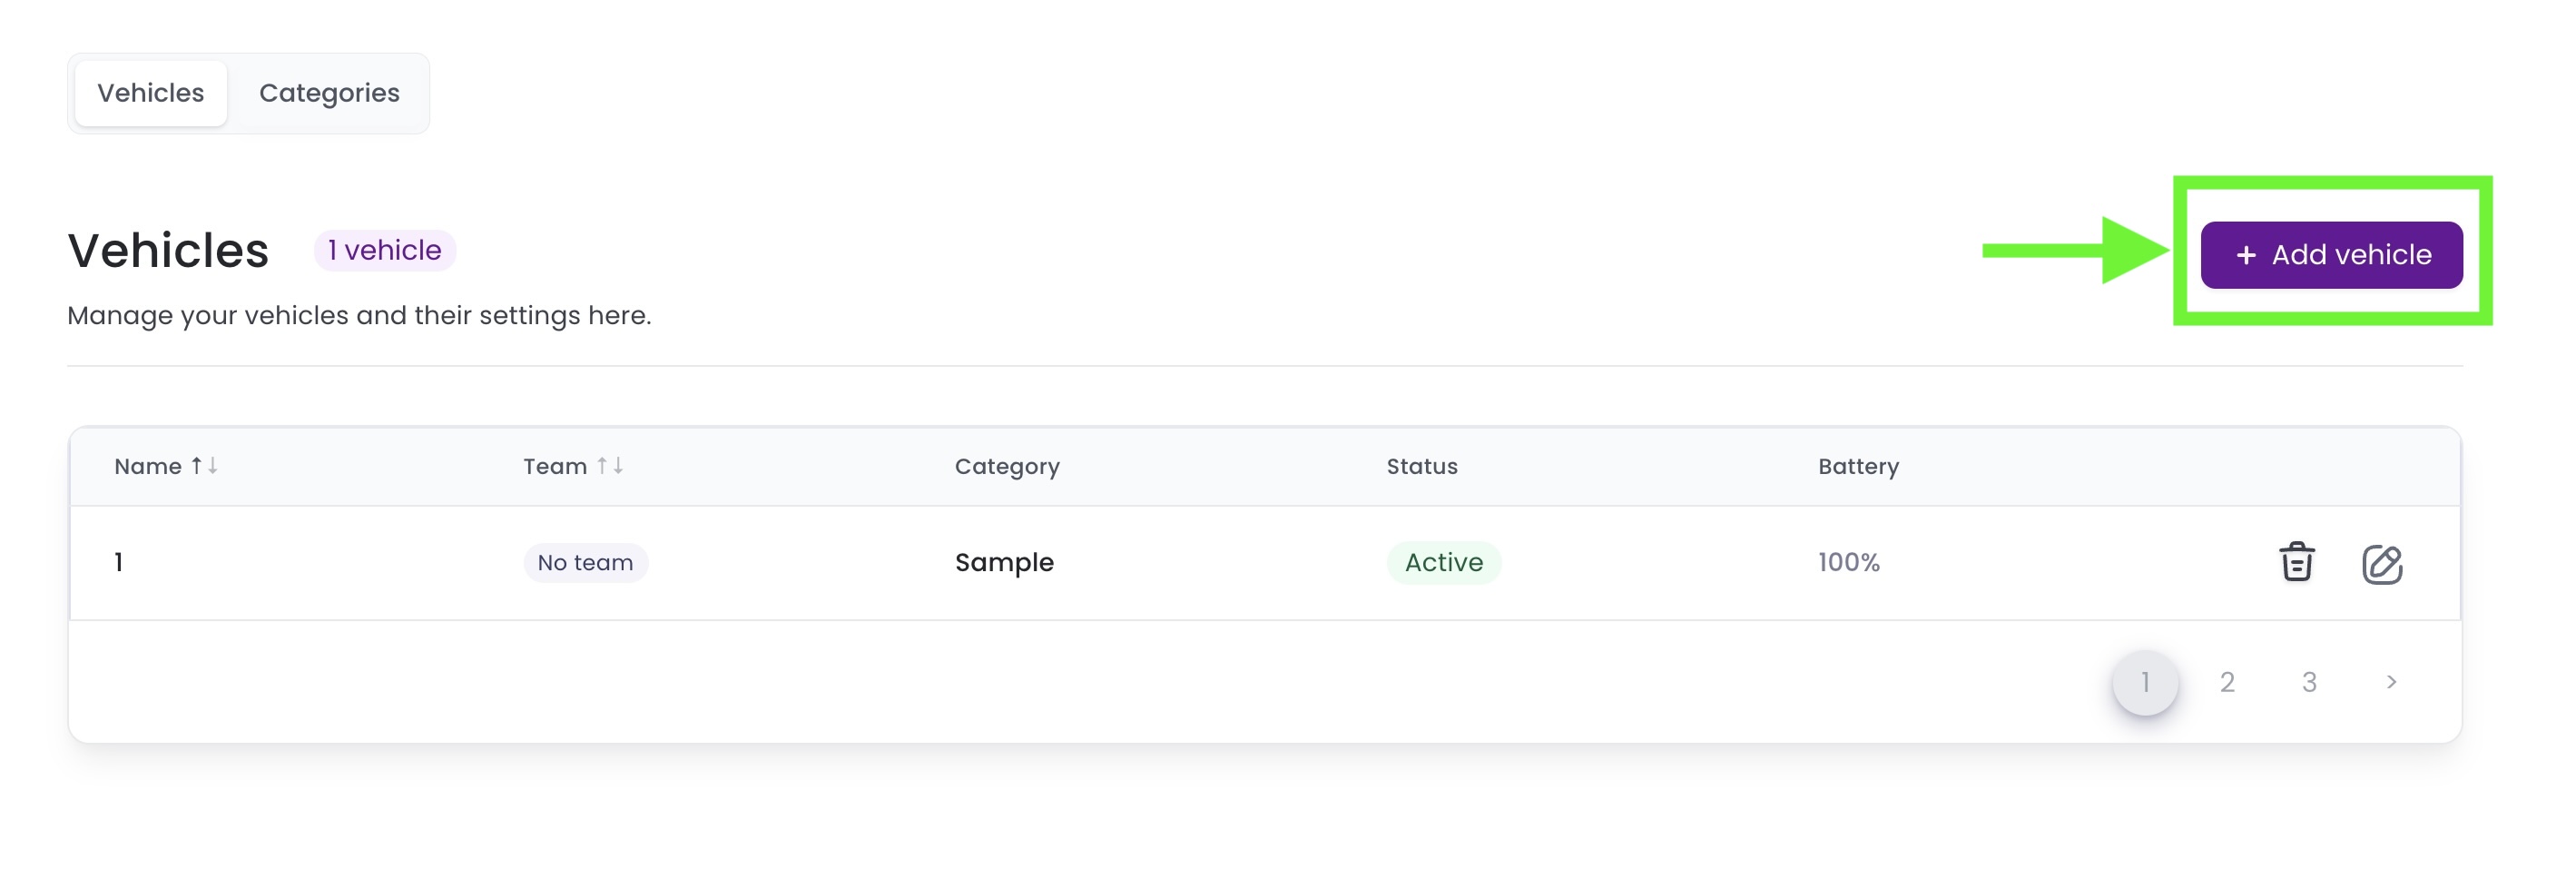
- Navigate to the ‘Vehicles’ tab on the main dashboard.
- Click on the ‘+ Add vehicle’ button to start adding a new vehicle.
Step 2
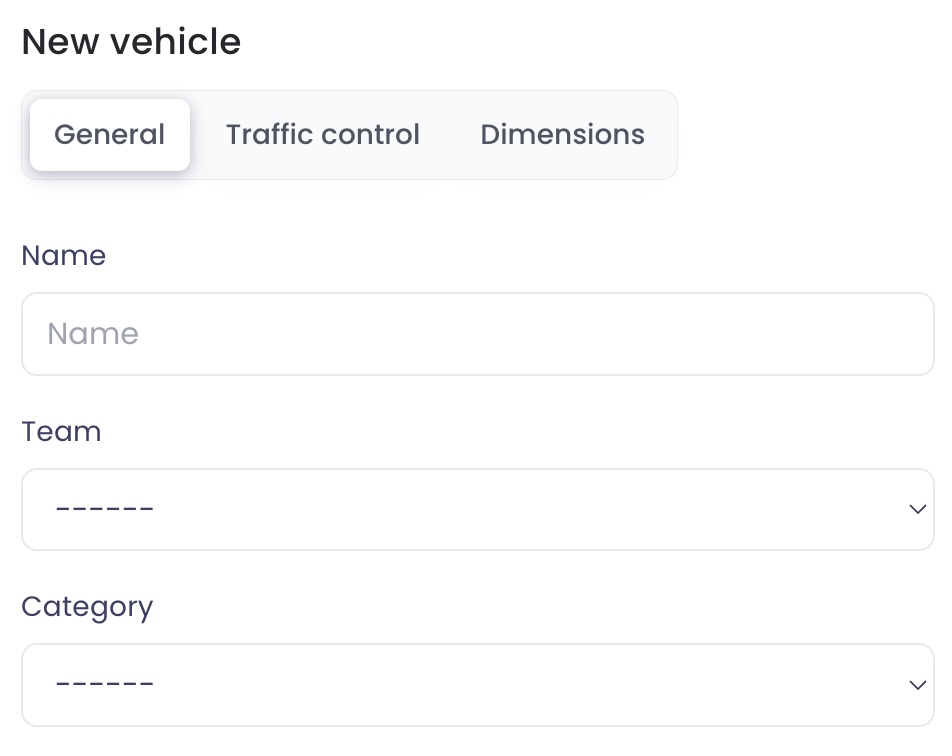
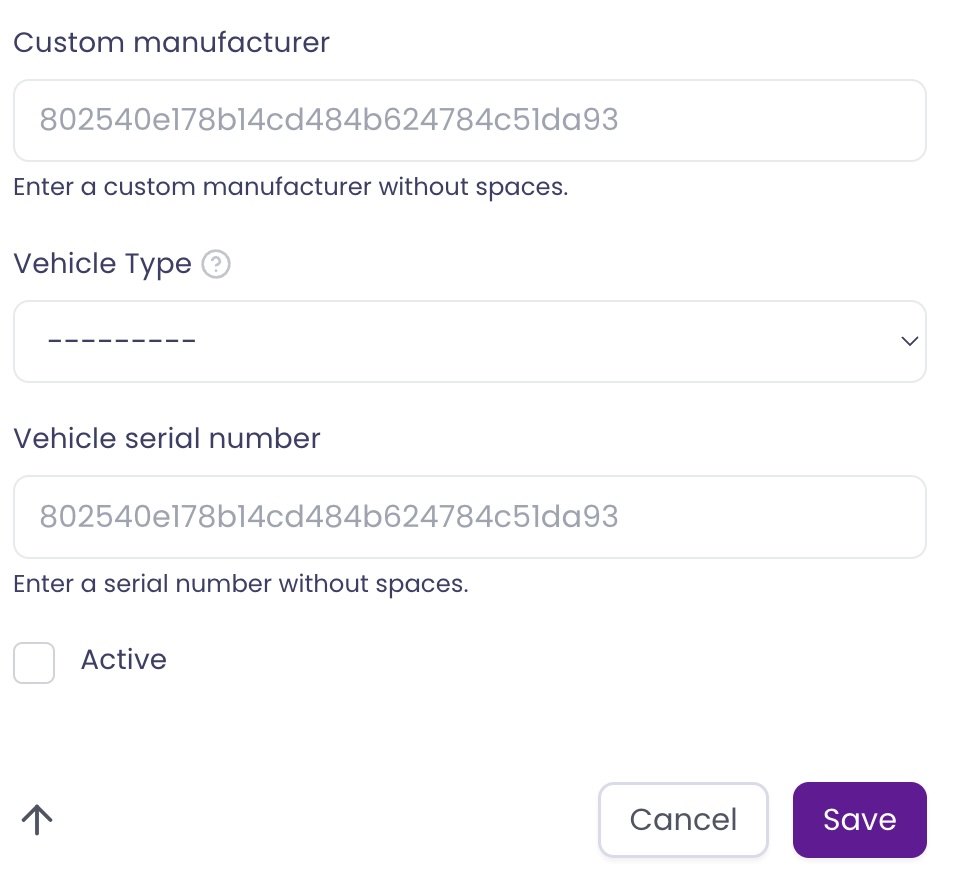
- In the ‘General’ tab fill in the vehicle’s Name, Team, and toggle the active status checkbox if needed.
- ‘Category’, ‘Custom Manufacturer’ and, “vehicle serial number are optional”
- Toggle the ‘Active’ switch if the vehicle should be active immediately.
Note: In this tab Free roaming can be set for each vehicle. Meili FMS offers three types of free roaming settings:
- Disabled: Vehicles only move by following the network of paths created in Meili FMS. If a robot with free roaming disabled is not on a station or path connected to other paths, it will not be considered for the allocated mission and the mission will be marked as “rerun.”
- Aided: Lets robots move outside user-designed paths. The system sends waypoints so the robot can navigate to the station while avoiding obstacles. If a path network is available, the robot will follow it.
- Basic: This is a “full free-roaming” option. The FMS sends only the goal coordinates to the AMR, leaving navigation including obstacle avoidance entirely to the robot. This applies even if the goal station is on the path network.
Warning You can add a vehicle to your fleet at both organisation level and team level, meaning you do not need to Select a team before adding a new vehicle. But it is a must to assign the vehicles to a team to start assigning tasks to the robots
Step 3: (Optional)
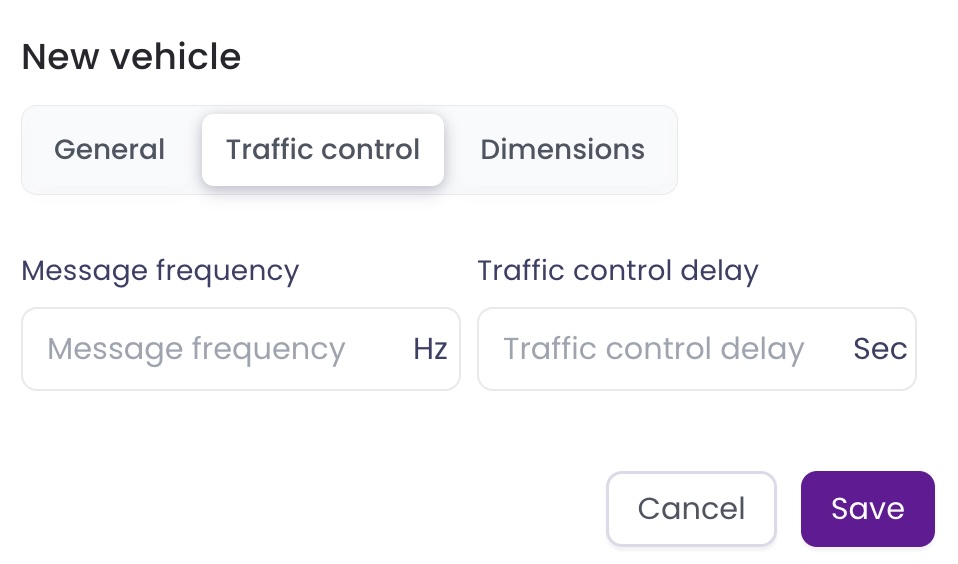
- Click on the ‘Traffic control’ tab.
- Set the ‘Message frequency’ and ‘Traffic control delay’ as required (If non are defined, the defaults for Frequency is 1Hz and for Delay is 0 Sec.)
Step 4: (Optional)
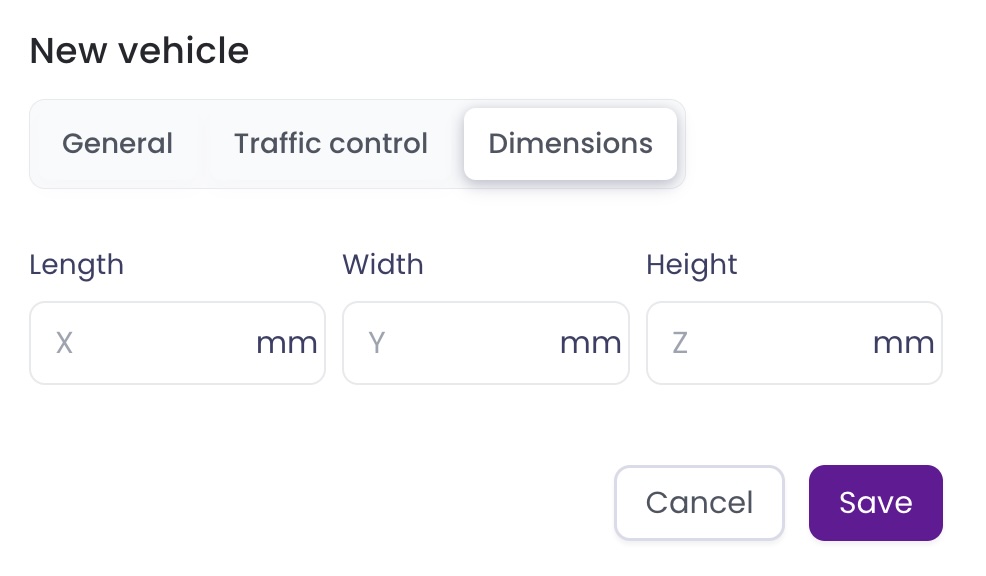
- Click on the ‘Dimensions’ Tab
- Set the dimensions of your vehicle. (If none are defined, the default values taken are 500mm x 500mm x 500mm x 500mm)
Step 5
- Confirm all information is correct.
- Click ‘Save’ to add the vehicle to your fleet.
Vehicle Types:#
- AGV_MANAGEABLE: Automated Guided Vehicles (AGVs) that can execute missions managed by Meili FMS.
- AMR: Autonomous Mobile Robots (AMRs).
- AGV_NON_MANAGEABLE: AGVs that cannot execute missions sent by Meili FMS but are tracked by Traffic Control.
- RTLS: Real-time Location System (RTLS) that cannot execute missions sent by Meili FMS but is tracked by Traffic Control.
- VISUALISE: Vehicles that are neither capable of running missions nor tracked by Traffic Control.
Battery Settings#
To display the battery status on the vehicles main dashboard, you must set up the following parameters:
Step 1: Navigate to the Vehicles tab on the main dashboard.
Step 2: Click on the settings.
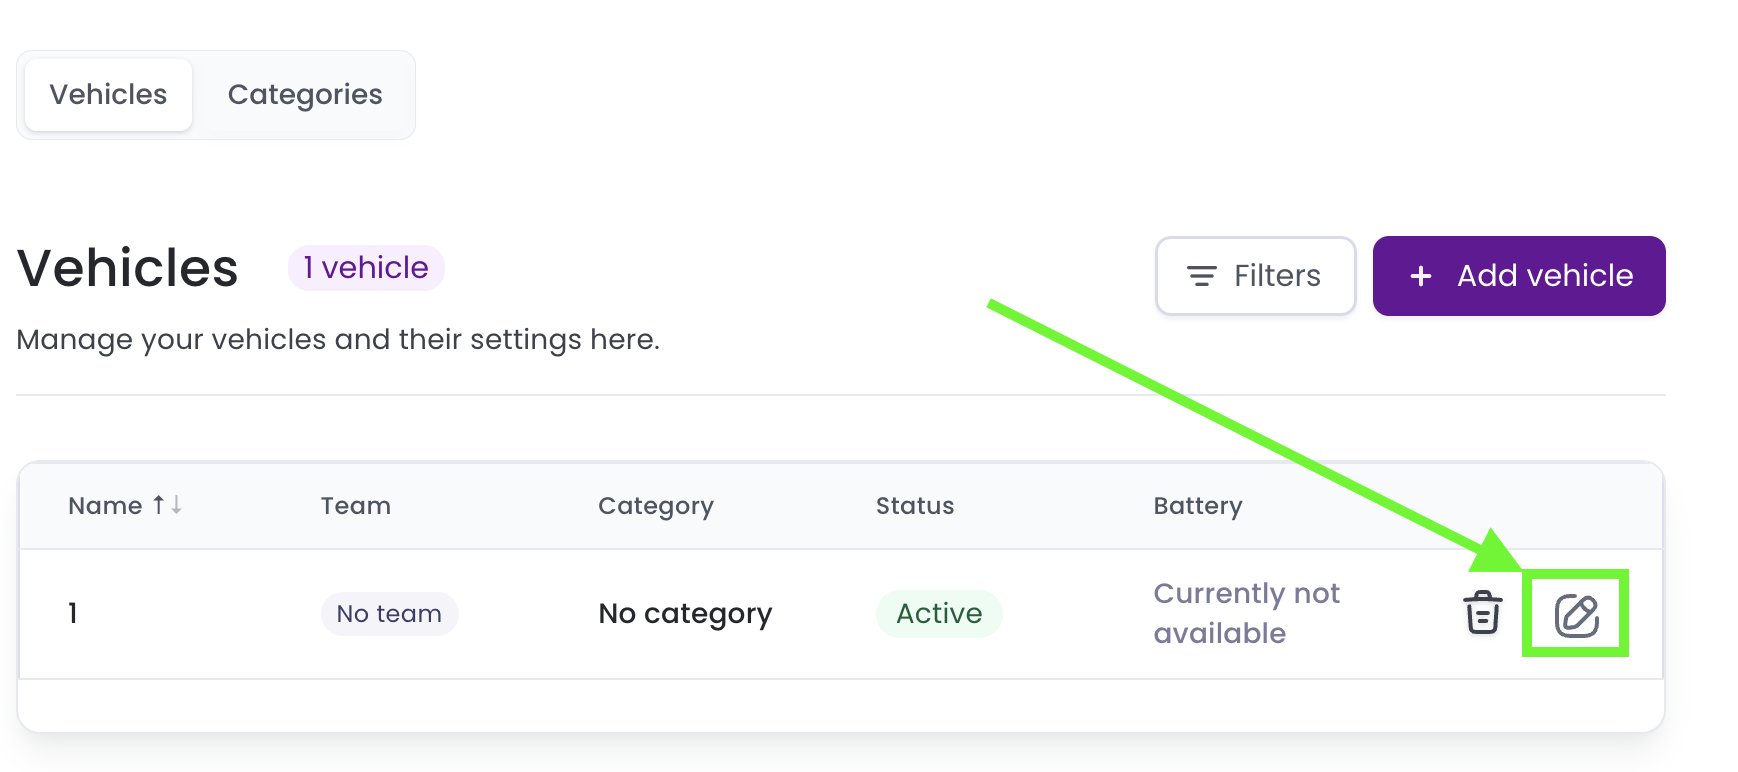
Step 3: Click on the battery tab.
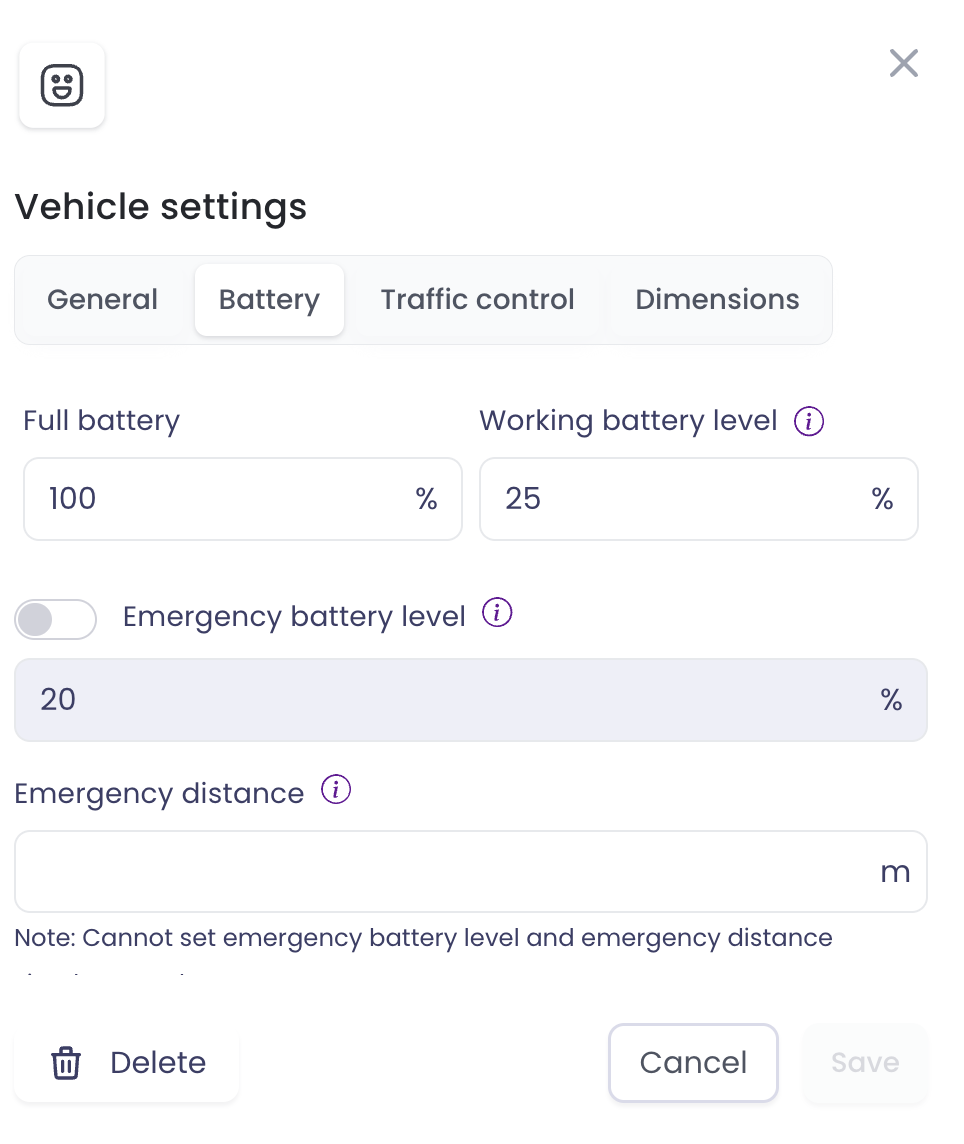
Definitions:
- Full Battery: It represents the maximum value of the robot’s battery when it is fully charged, i.e. 100%. The system automatically sets it to the maximum battery values that were initially read. This value can be modified using the API.
- Working Battery Level: It represents the battery level at which the robot can start carrying out tasks. This value can be modified using the API.
- Emergency Battery Level The ‘Emergency Battery Level’ indicates the battery level at which the robot is sent to the charging station.
- Emergency Distance: The distance that can be covered by the Emergency Battery level.
Setting up this values is required so the Vehicles tab in the main dashboard displays battery data.
When a robot’s battery level or distance is below the set emergency levels, the robot will automatically go to a charging station or a safe zone. At the same time, a notification will be sent to your dashboard.
Charging stations and safe zones can besignated via map editing.
Deleting a vehicle#
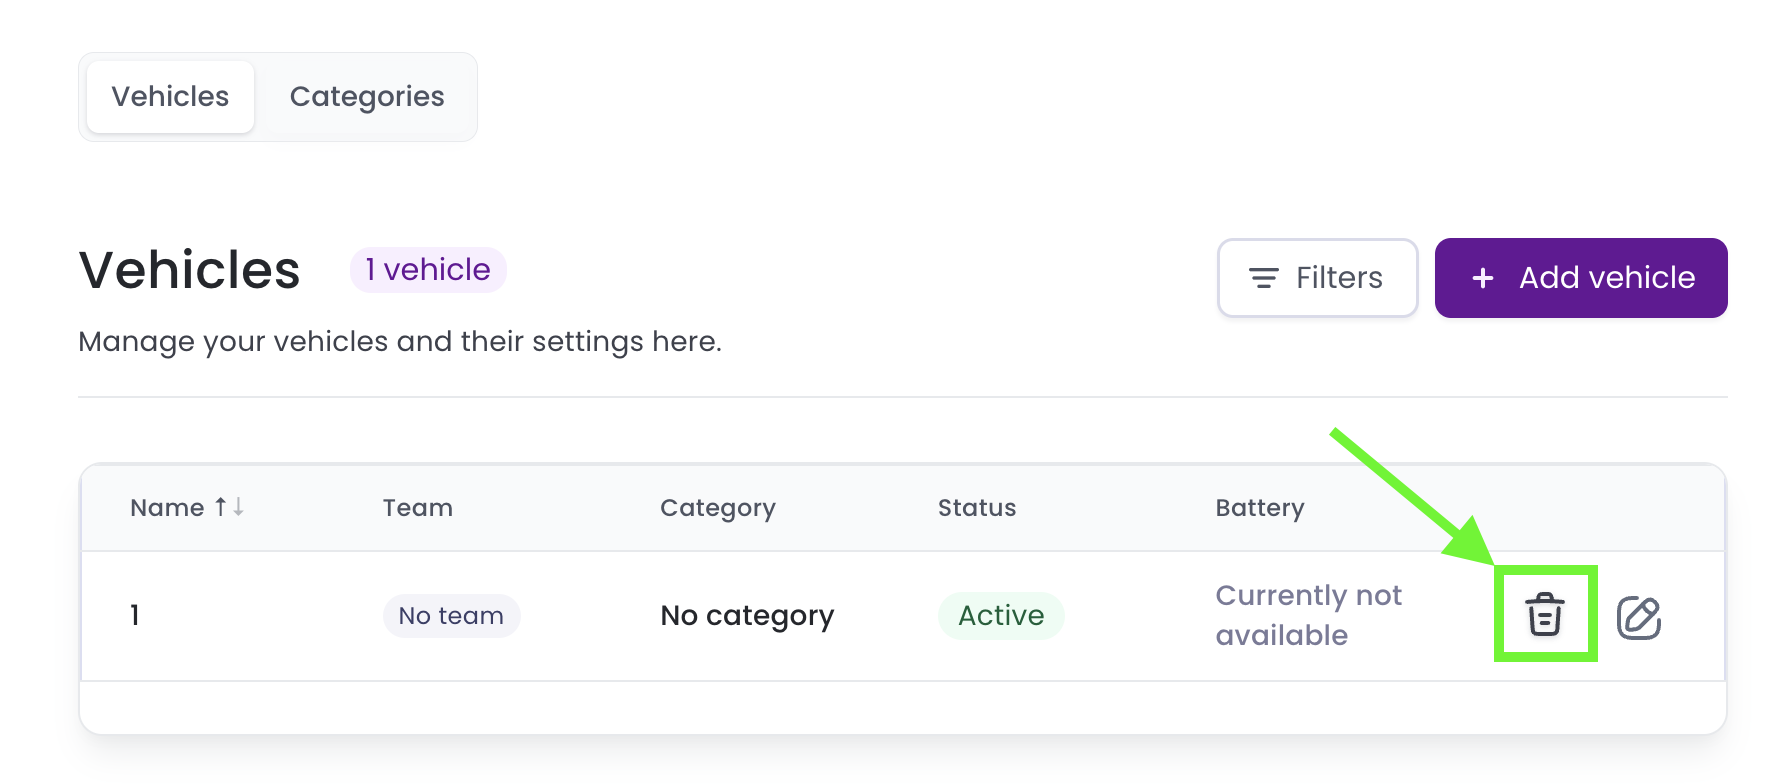
- Navigate to the ‘Vehicles’ tab on the main dashboard.
- Click on the bin icon.
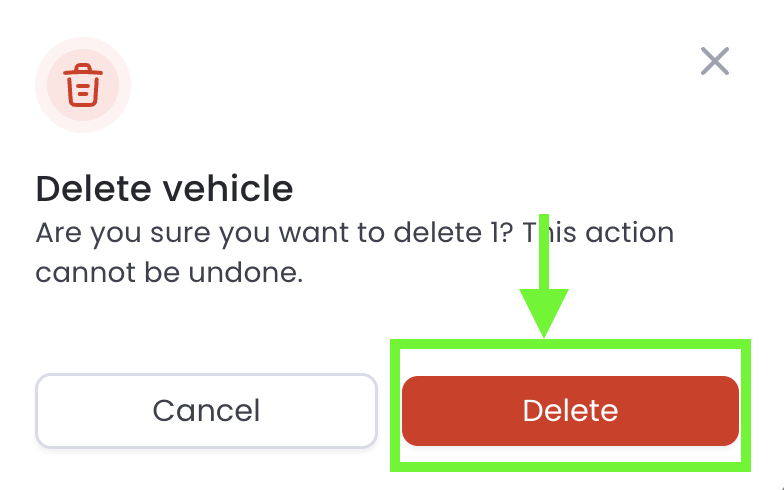
- Confirm the deletion